By DAVE BRZOZOWSKI
As the Motorsports/Racing Manager at Wilwood Racing, we always encounter two specific things no matter what type of motorsports event we are at while supporting racers. These are, “My brake pedal goes soft,” and “I have to pump brakes, and I can’t get a firm, consistent pedal feel after bleeding my brakes.”
The first thing I always do is check the master cylinder pushrod area for any signs of fluid, as this area should be completely dry. Many times I see that the master cylinder is the culprit, and mainly on a dirt car from power washing as water gets behind the boot and starts to corrode and rust that area. Next, I’ll ensure the correct brake fluid is being used for their racing application, and then we’ll discuss the proper bleed technique.
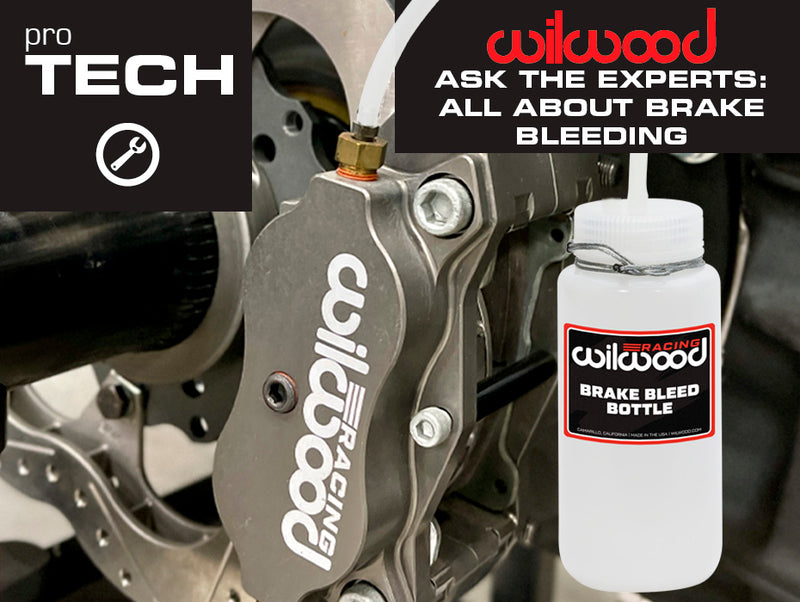
One bleed method is based on a sprint/midget or single master cylinder application; the other is for any car using a balance bar system with two masters. The most important item needed is a proper brake bleed bottle (like Wilwood PN 260-16018). I see so many people bleed a caliper by just cracking a bleeder and squirting fluid into the air, but by doing it that way, there is no confirmation that air is out of the system. A bleed bottle lets you visibly see air escaping the caliper and when it stops.
Another common problem I see or hear is the caliper is removed when bleeding and held higher than where the master cylinder is mounted. This process is backward from what you want. Let gravity be your friend. In most open-wheel applications, the master is mounted above the calipers. If master(s) are below the calipers, try to install the reservoir(s) higher than the calipers. Then, you will have a much more successful bleed process.
Single Master Cylinder Bleed Process
- Bleed the master cylinder, the term is bench bleed, but there is a very simple quick way to do a single master in the race car. (note: you can go directly to #3 if the system has been purged previously).
- With a new master in the car hooked up to the pedal and set to the desired position, put a rag or pan under fitting/port on the rear and fill the master reservoir. Leave the cap off or loosely fit on the reservoir and slowly push the pedal down to the motor plate/firewall. Before releasing the pedal, put a finger on the fitting/port, then release the pedal back. Repeat the procedure two to three times, and when you push a stream of fluid out, the master is bled and will drip fluid. Connect the lines and you will be ready for caliper bleed. You can also put hose on fitting and return to reservoir, ensuring hose submerged in fluid and push pedal till you see no air bubbles.
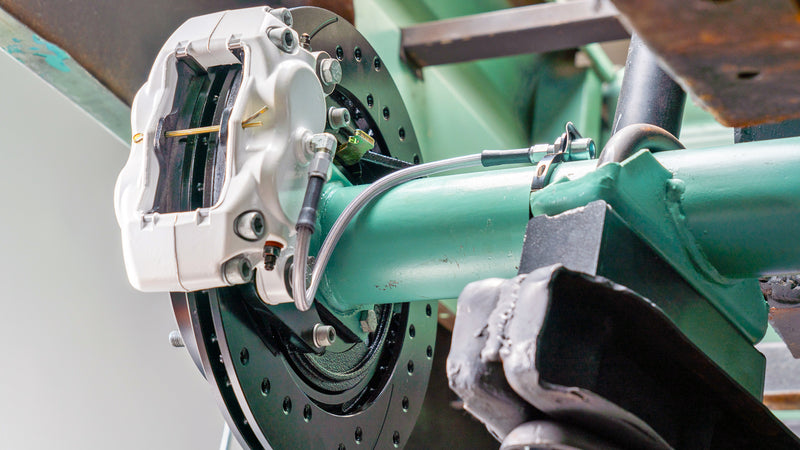
- When bleeding the calipers, ensure the bleeder valve points 90° up from the ground and is held on the rotor (note: Caliper does not have to be wholly bolted down. This is an issue on LF Sprint/Midget applications mounted horizontally).
- Prepare a bleed bottle by ensuring some brake fluid is inside (fluid can be old) and the hose end inside the bottle is submerged.
- Remove or loosen the reservoir cap, and fill it with new brake fluid. Start with LF outmost bleed nipple (or furthest caliper from the master cylinder circuit being bled) and open it. Remove the wrench if necessary to ensure the bleed hose is securely attached over the nipple. (Don’t worry about having the pedal depressed at this point.)
- Start pushing the pedal slowly to the motor plate/firewall and returning without closing the bleed nipple (having fluid in the bottle and hose submerged keeps air from coming back). Continue until you see a fluid stream with no air bubbles coming out of the caliper. Once clear, hold the brake pedal down, pinch the bleed hose and remove it, then close the bleed nipple. Proceed to the next inner bleed nipple and continue the same procedure. Always keep an eye on the fluid level in the master cylinder to make sure it does not get too low, or you’ll introduce air into the lines and have to start over.
- Repeat the same procedure on the rear inboard, or if you have an outboard brake, do it before the inboard.
- Once you’re confident all the air in the brake lines has been removed with the bleed process, fill the reservoir one last time to the correct level. Secure any calipers that were loosened or removed. Push the pedal a few times, and it should feel good.
- Walk away and don’t turn a wheel for about 15 minutes, then recheck the pedal, it should be as you left it. If you have to pump the pedal to get pressure back, there is still some air in the system. Air can be tricky, as sometimes a cracked flare, loose line, damaged hose, or end will leak air but not fluid.
If all the above steps are complete and you lose the pedal on track, you need to start looking at things that may be causing piston “Knock Back.” A brake term meaning the caliper pistons are getting pushed back into the bores, causing the need to pump the brakes to contact the back of the brake pad again. Other things to look at include a loose hub, excessive rotor run out, excessive movement on the rear floater hub or worn rotor mount plate, and bent caliper mounts.
Balance Bar and Two Master Cylinder Bleed Process
The same procedure as above for all steps except when you go to bleed the calipers you will need to do a front and rear together on the same side. RF-RR together at the same time and then the LF-LR together. This is called a 3-man bleed, with one on the pedal and one each at the left or right calipers front and rear.
With a balance bar, you have two masters trying to work together, and if you bleed one at a time, one master is trying to get full stroke while the other is pressuring calipers, and you do not get a good complete master stroke. I have seen racers adjust the bar to all front or all rear to do one at a time, which is still not a good way to complete this procedure.
When the bleeding process is complete, follow the same procedures as in # 8 and #9 above.
Previously, we mentioned how it is preferred to have the calipers sitting below where the master cylinders are mounted to help the bleed process. In some applications, the master’s mounting location is below, as on a floor-mounted pedal assembly. In this case, remote reservoirs mounted higher than the calipers are advised, as this will help in the bleeding process and maintain some positive pressure.
Finally, a few last minute tips. I will always tell teams to pay attention to pad wear, not necessarily just taper wear front to back on a multiple-piston caliper (it is not uncommon to see some taper wear on a caliper with the same size pistons). But if you notice taper wear on a pad from top to bottom, this can be a tell-tail sign that something is bent or deflecting, causing the pad not to sit square.


0 comments